Introduction
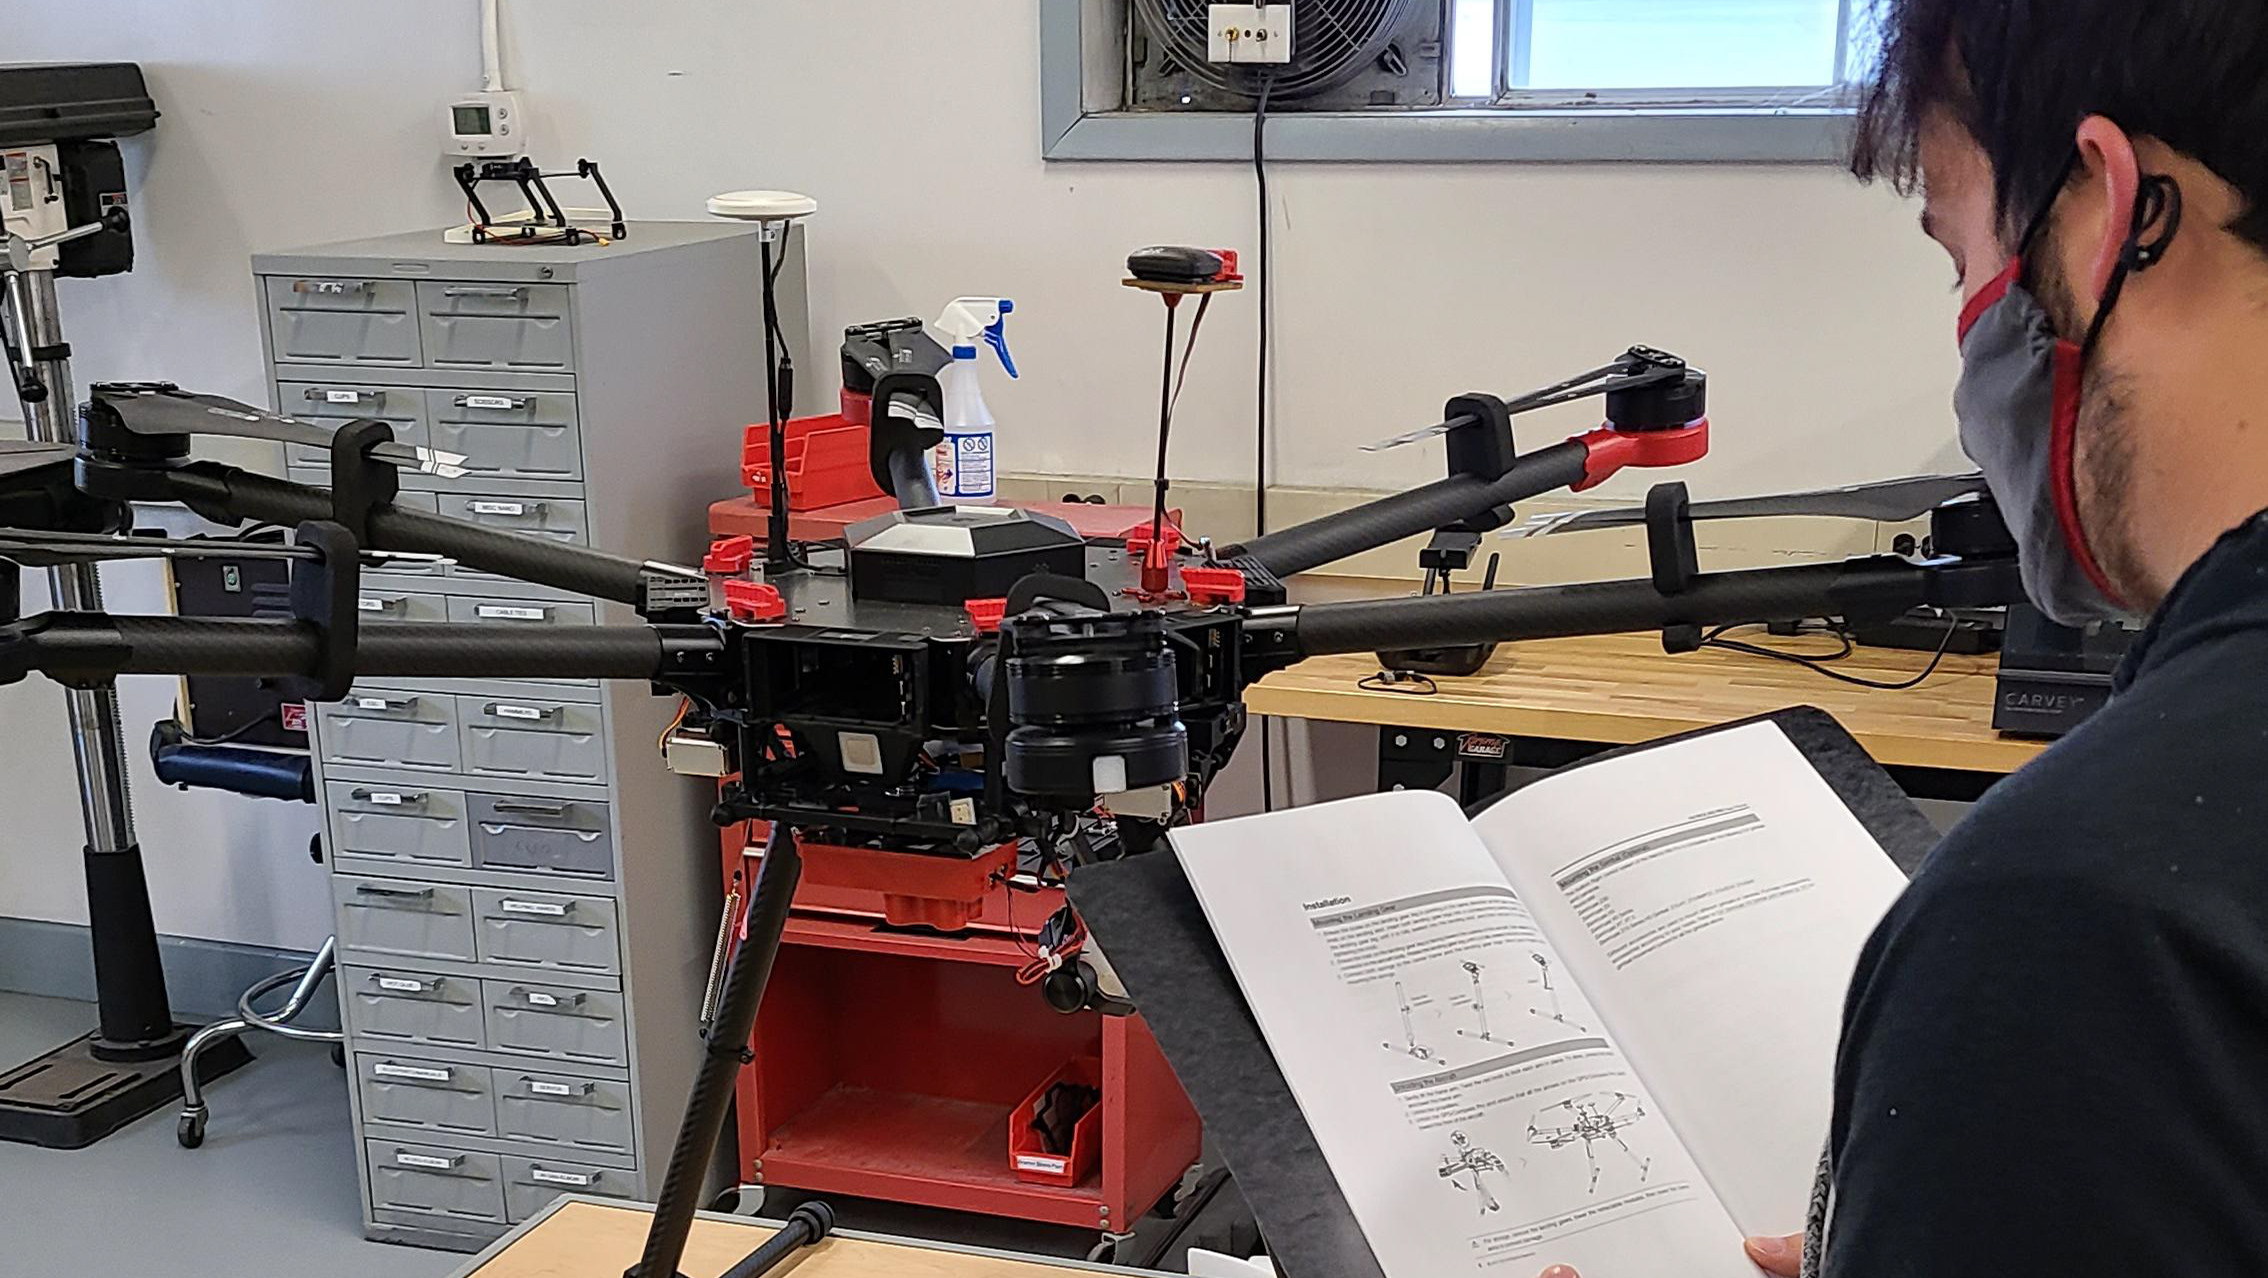
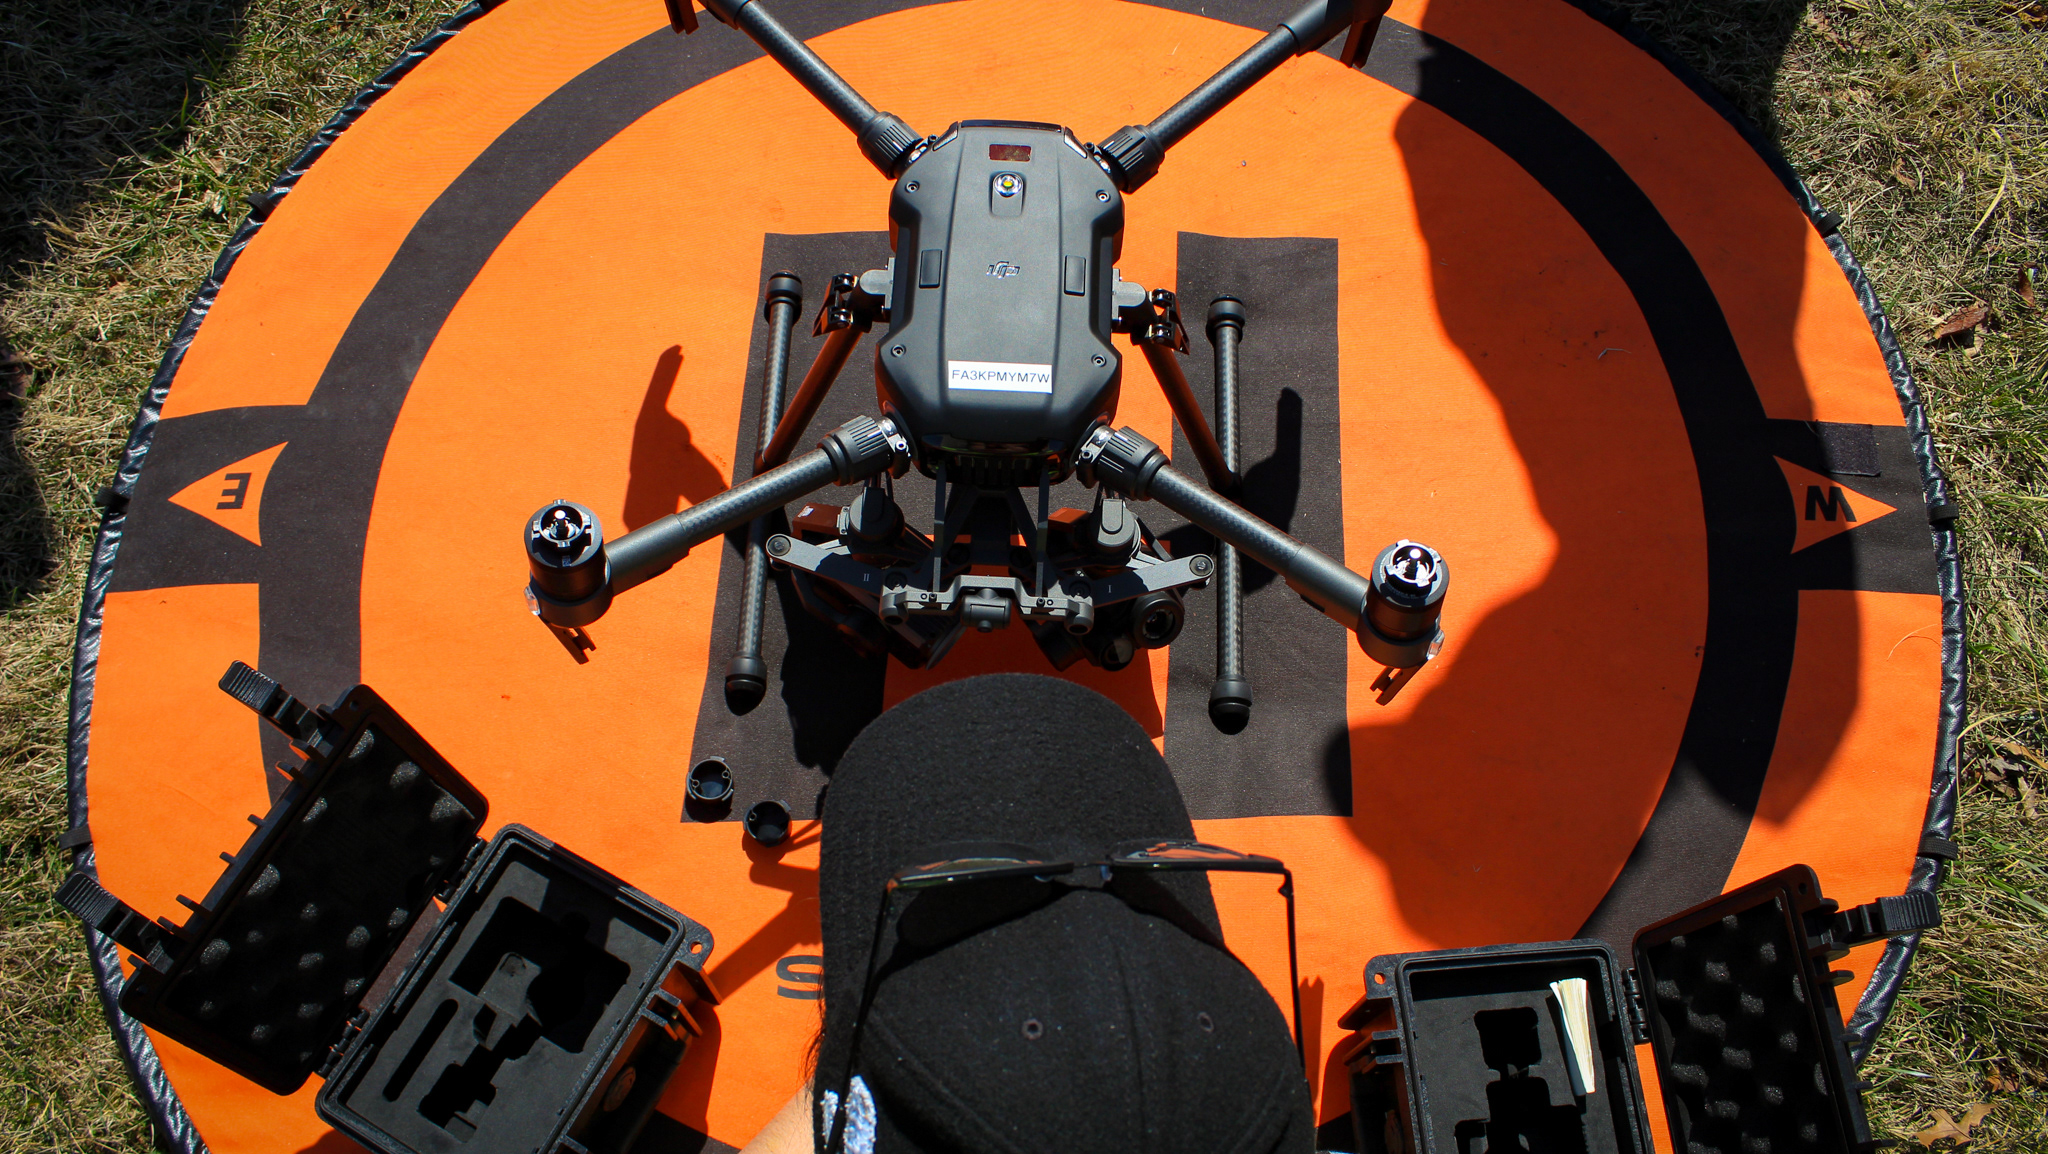
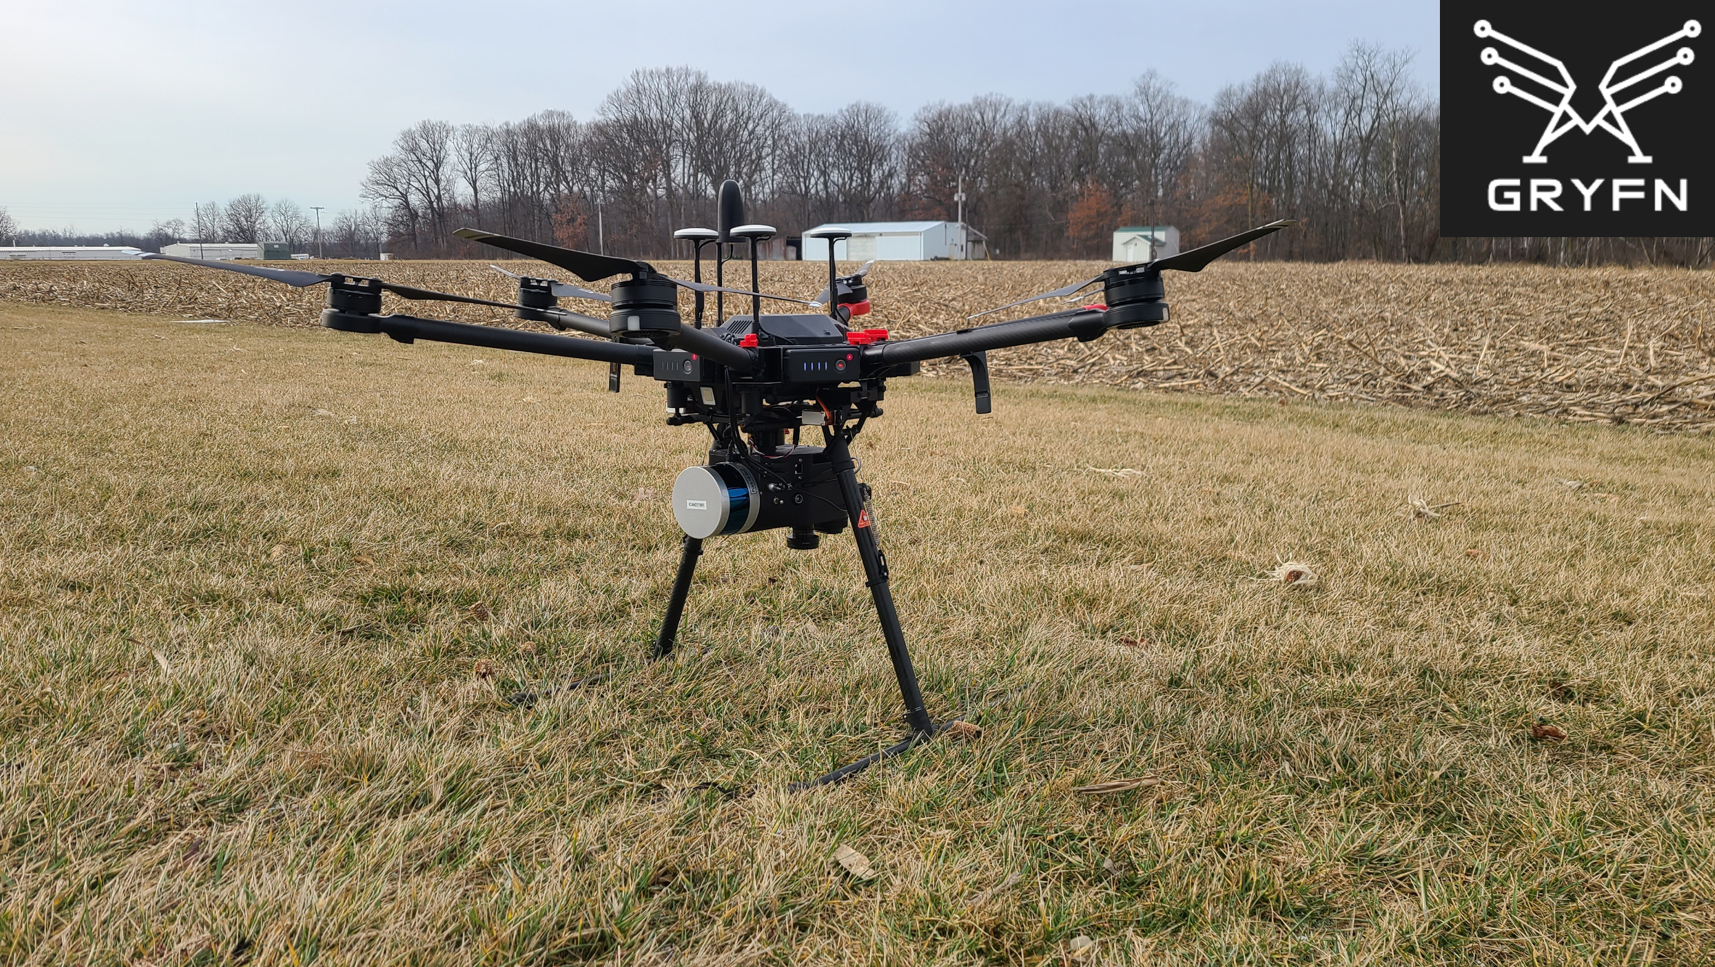
Recently I decided I wanted to expand my knowledge and skills by building an Unmanned Aerial Vehicle (UAV). Over the last several years I have had plenty of experience operating a variety of commercially available UAVs, including the Freefly Alta X, Astro, and several others. Back in high school I was involved in a small robotics club, and in college I was exposed to a variety of hardware responsible for making a UAV operational. My combination of formal education and real industry experience meant I wasn’t starting from zero. However, as many will tell you, knowing is only half the battle; doing it is the hard part. This post will encapsulate my experience of building a UAV and will include a variety of useful tips for other first-time builders.
Selecting Components
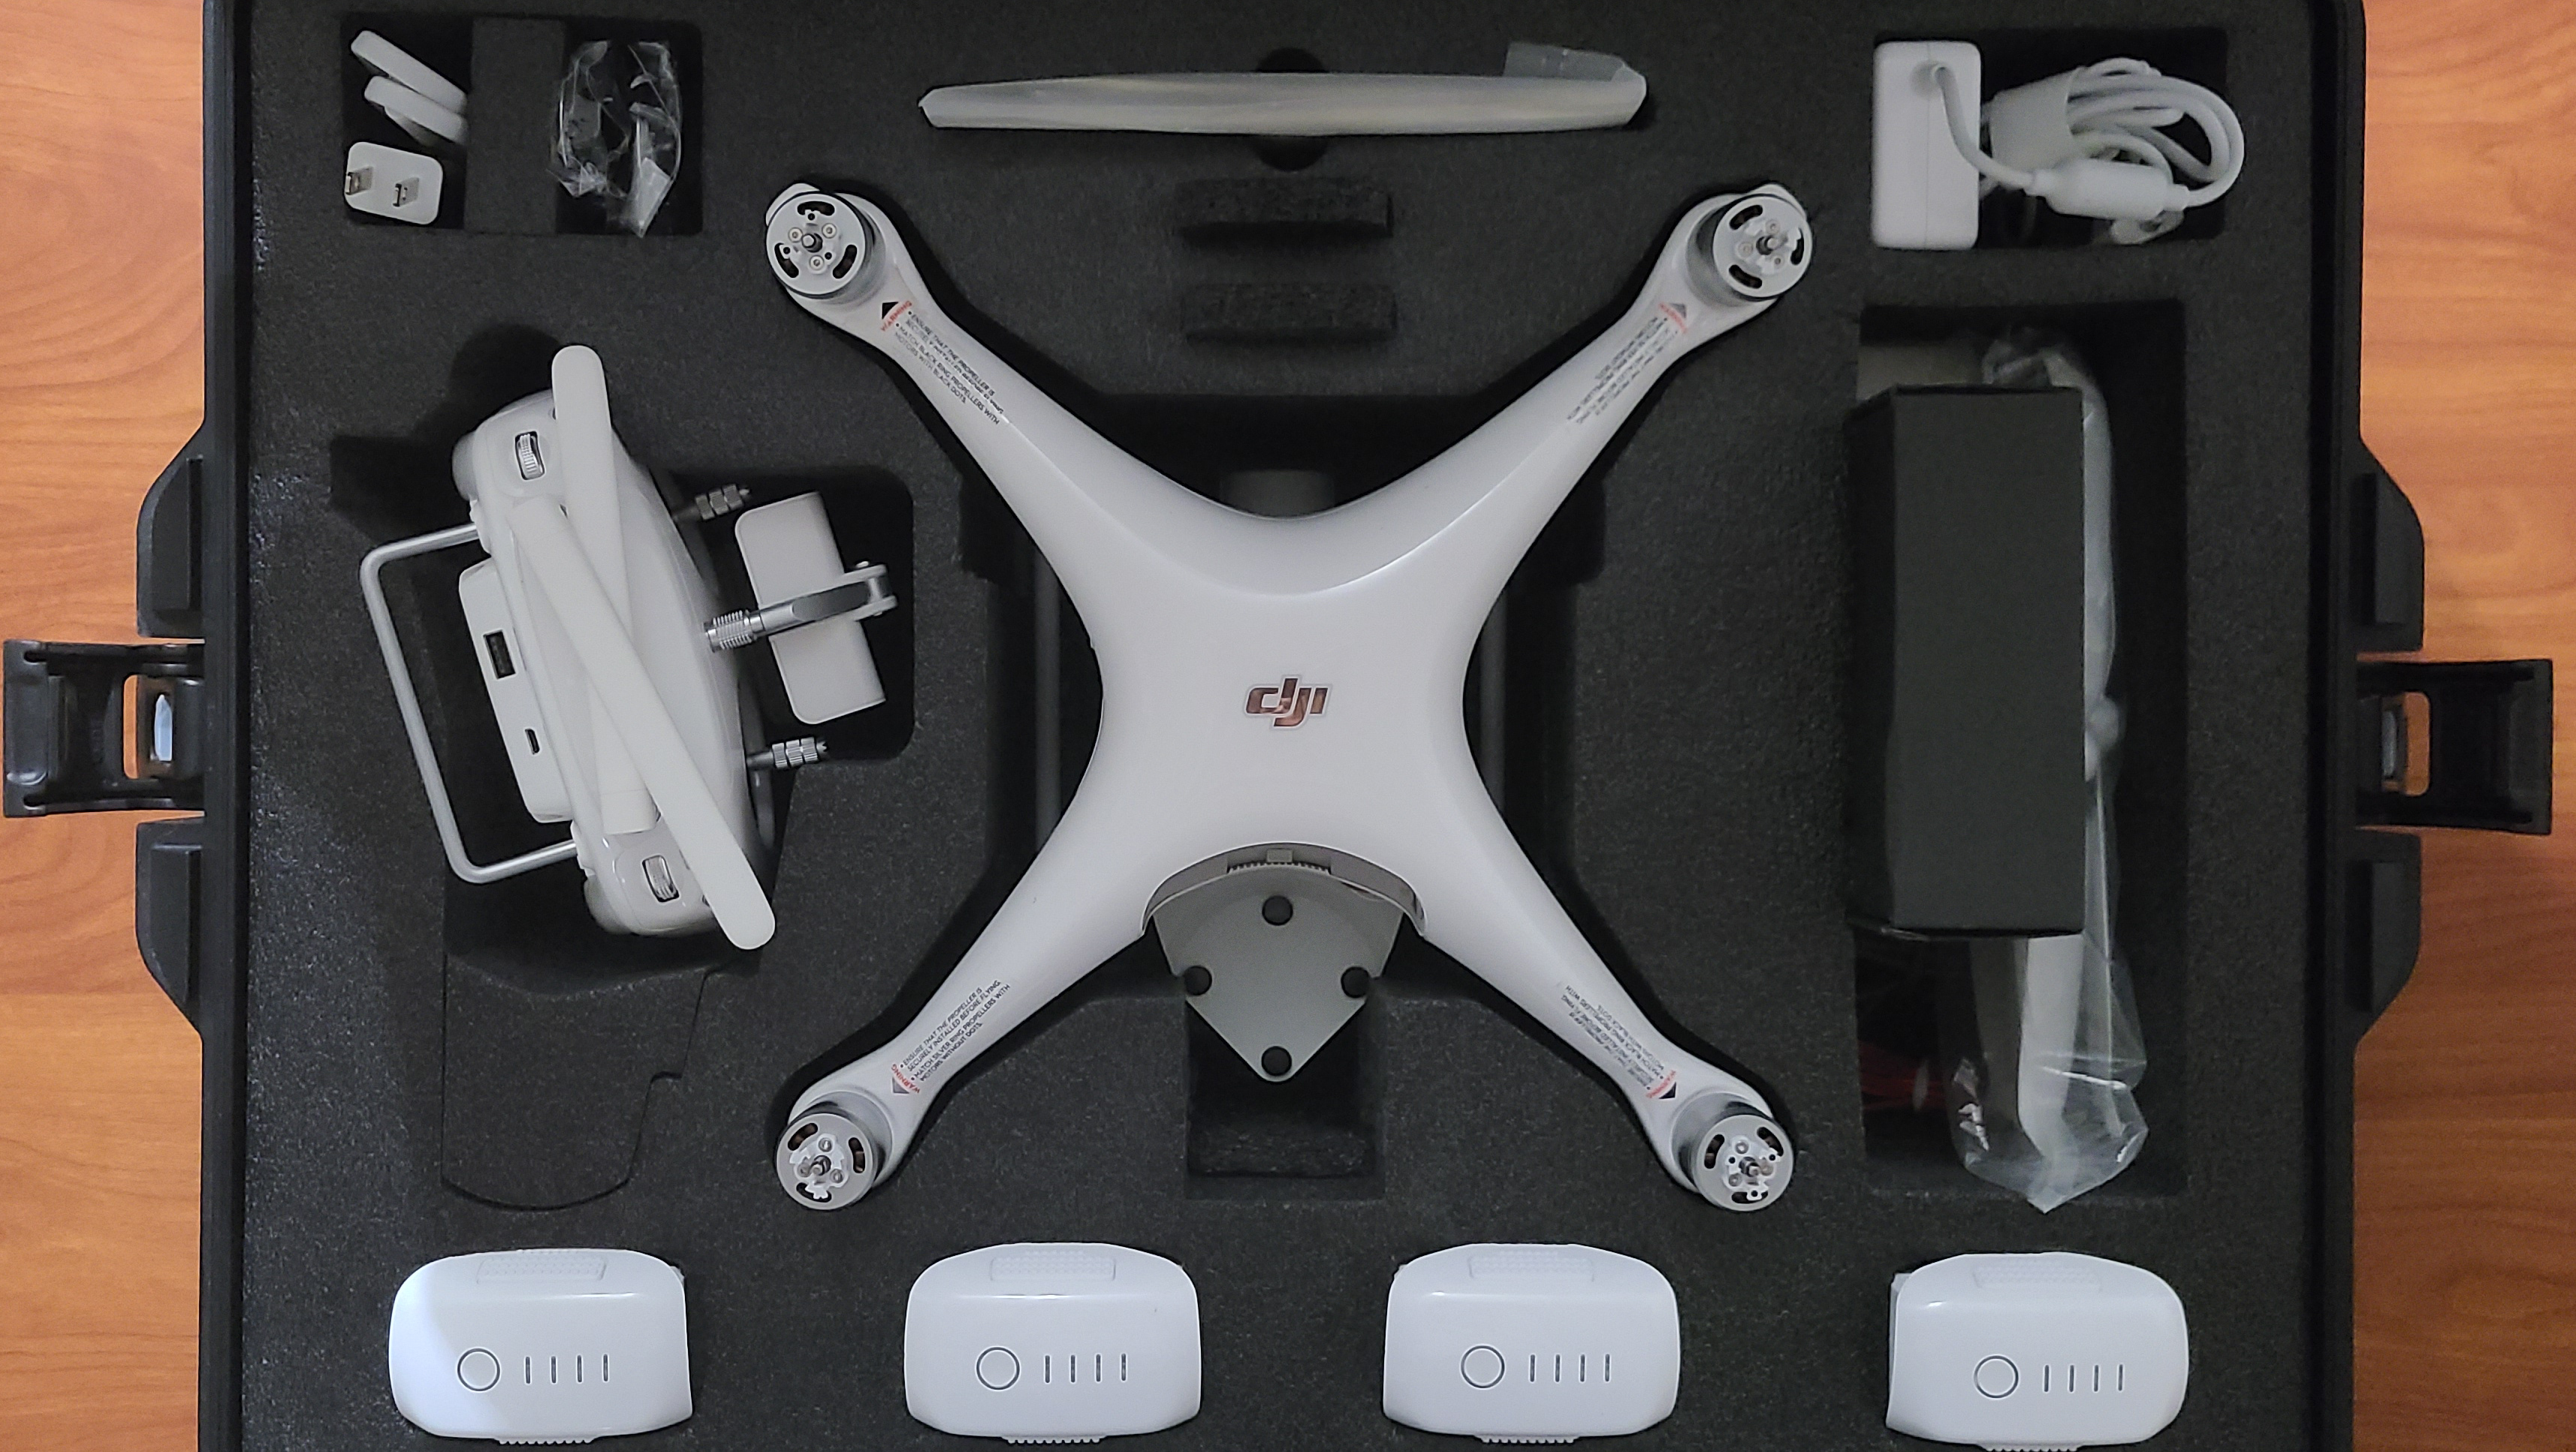
First, what did I set out to build? I decided I wanted to build a small quadcopter that could potentially carry a small payload and follow automated missions. With this as my goal I searched for a variety of frames or kits that would fit my needs. I settled on the Holybro X500-V2 (Holybro now has the X650, which I wish had been released when I started this project). Holybro offers the X500-V2 in a couple of varieties, but I went for the “Almost Ready to Fly” (ARF) kit, which included the frame, electronic speed controllers (ESCs), motors, and props. The X500-V2 is about the size of a DJI Phantom 4, and has some mounting points intended for a co-processing computer, like a Raspberry Pi.
There were still plenty of components I needed to pick out. Most importantly would be a flight controller. Modern UAVs being developed in the United States are using what is called the CubePilot Blue Cube. This is an NDAA compliant flight controller manufactured in California. However, it is quite expensive. For my purpose I wanted a cheaper flight controller that was comparable in capabilities with the flight controller being used in modern UAVs built in the US. For this I decided to go with the Pixhawk 6C from Holybro. This flight controller is compatible with both Pixhawk and Ardupilot firmware like the Blue Cube and has similar port connections as well.
When purchasing a flight controller you will need a compatible power module. Some require analog and others require digital power modules, and for the Pixhawk 6C I needed an analog power module and went with the suggested PM02 from Holybro. The ARF kit included a power distribution board, so I didn’t need to purchase one separately. I did need to purchase a battery though, and for that I followed the instructions and looked at 4S LiPo batteries. I decided to go with a 5000mAh battery to power the UAV in flight, and a compatible battery charger.
Next to consider were the ways I would be controlling my UAV. For manual flight maneuvers I would need both a receiver radio on the UAV and a transmitter radio controller for my hands. There are a large number of communication protocols that you could select. I personally decided to use radios with the ELRS protocol. This is an open-source version of a long-used protocol called CRSF. ELRS is in active development and there are a variety of manufacturers making radio receivers and transmitters. ELRS also comes in 2.4GHz and 900MHz which are nice options to have for UAVs intended for different environments.
It is important to note that these radios are not specifically developed for this kind of UAV, as ELRS is broadly applicable. This means if you want to use ELRS be prepared to learn the specifics for your UAV. This includes slightly different initial setup processes, and cable connections. However, I think the learning curve is likely worth it. Once you have gone through the process once, getting another UAV working with ELRS is a fairly quick process.
As for what specific components I went for, I decided on the RadioMaster RP4 diversity receiver, and the RadioMaster Zorro as my transmitter controller. I selected the RP4 as it is designed for slightly larger UAVs and is a more powerful receiver. Also being a “diversity” receiver means it has two antennas, which improve reliability, and signal-to-noise ratio. As for the RadioMaster Zorro, I selected it based on its design, types of switches, buttons, and dials available. You should always purchase the equipment best for you, however RadioMaster is a generally reliable company that has been in business for a while. Additionally, I would suggest looking at picking up a transmitter controller used on a website like Ebay. Especially if you are unsure how often you may use your built UAV. I was able to find a “used” RadioMaster Zorro on Ebay for half the price of purchasing one new, that clearly had near-zero use and was in excellent condition. Of course, purchasing used products does carry some additional risk, so purchase wisely.
After acquiring all of the components mentioned above, we now have the capabilities of performing manual flight. However, if we want to use GPS assisted flight modes or conduct automated missions through a flight planner like QGroundControl we will need a GNSS antenna. Note that I say GNSS antenna, not just GPS antenna. While the one I purchased is called M9N GPS, this is a misnomer in most modern products on the market. GPS is a specific US owned and operated satellite constellation, while GNSS refers to a broad set of international satellite constellations, including GPS. Most modern “GPS” systems are actually capable of utilizing a variety of constellations including, GLONASS, Galileo, and BeiDou, which means they are technically GNSS systems. Of course, most people know GPS, so that is still the term used broadly.
Additionally, you’ll likely want a way to receive additional telemetry data from your UAV during automated flights, so picking up a telemetry radio is a near-necessity. I went with a Sik telemetry radio for easier use; however, it is technically possible to use a secondary ELRS radio to transmit telemetry. Sik telemetry radios are easier to use, as they are fairly plug-and-play, and require minimum setup to get going. Using ELRS for external telemetry is something I’d like to try in the future, but to limit the initial scope, I decided against it. This is due to the more complex nature of getting an ELRS radio to function fully in this capacity.
Finally, as of this year the FAA’s Remote ID law is in full effect. You are legally required to comply with this, so you will need to purchase a module for your built UAV. There are a variety on the market, however all I will do is advise caution that you get one that is legally compliant for your specific situation. This will also be the serial number you use for registering your UAV with the FAA as well, which is another legal requirement. To ensure the one you intend to purchase is compliant, you can check the FAA’s Declaration of Compliance list: https://uasdoc.faa.gov/listDocs
Building the UAV
Once I received all of my components I began my build. The instruction page provided in the kit was somewhat unintuitive, so I did have to refer to online resources to assist me with my build. A few things that were difficult in the build were connecting the arm mounts, which are plastic pieces that connect the UAV arms, to the top and bottom plates, and quality control of those plates. The arm mounts I received did not fit together quite right. This was quite frustrating in the beginning, until I realized that later in the build these would be held in place additionally by screws, and not just their poor plastic clips. The issue with my bottom plate was that some of the holes were too small, and so I had to drill slightly larger holes through the carbon fiber. Otherwise assembling the frame was not terribly difficult once I sorted out those two issues.
Next attaching the electronic components was straightforward, however you do need to be careful. The motors need to be plugged into your flight controllers PWM out connections in the correct order, and in the correct polarity. Luckily, this kit has motor cables labeled, which eases things a bit. This also is an important time to double check your specific flight controller’s manual to ensure you are connecting things properly.
If you are like me and went with an ELRS radio setup, you will need to make your own cable most likely to connect your radio receiver to the UAV. Again, make sure you consult your specific flight controller’s manual, as well as that flight controller’s documentation for Pixhawk or Ardupilot firmware. For me I used the “Telemetry 3” port on my flight controller for my radio receiver. As a small note on this part, just remember that your Rx wire from your radio receiver needs to connect to the Tx pin on your flight controller, and vice-versa.
After finishing your build, make sure to leave your props off until you go out for your first true flight. For now, there are some things you will need to do inside, connected to a computer. So, for safety reasons, do not have your props attached, and then connect your UAV’s flight controller to your PC over USB. To fully set up your UAV you will need a flight planning software like QGroundControl or Mission Planner. Both will work, but if you are new to this, I would recommend QGroundControl as it’s a little simpler to get going with. Assuming everything powers up properly when you connect to your PC, you can follow QGroundControls setup procedure, and any additional setup needed for your specific hardware.
Once everything is set up correctly you can take your UAV outside and give it a quick test. Install the props on your UAV, ensure you are in a very safe area for this first flight, and try taking off! If everything goes well and the UAV takes flight, congratulations! If the UAV experiences an error and doesn’t take flight, don’t worry. These are complex vehicles with several components. Research any errors presented to you by the UAV, transmitter, or flight planning software. It can be a struggle at times to find the correct solution for your situation, but the more you research the better informed you will be as an operator. Trust me when I say that I had a variety of errors to overcome before my UAV successfully took flight for the first time.
Conclusion of Build
This is just a very brief summary of my experience building my first UAV. There were a lot of lessons learned, and I believe I am a much better UAV operator and specialist because of it. I believe this experience will assist me in working with a variety of UAVs, both commercial and experimental in nature. I am inspired now to try my hand at building other types of UAVs in the future. I also look forward to attempting to get my UAV to perform data collection missions through the use of a Raspberry Pi and a camera. I plan to write a summary about that experience in the future.
In addition to this write up, I have been working on additional documentation for my build that I want to make available to others to help them with building their own UAV. There are a lot of good resources on the internet, however they are in a variety of places, and many are oriented to the likes of RC enthusiasts or other similar groups. In the near future I will post a link to a GitBook where I have been writing this documentation. In the GitBook you will be able to find a variety of documentation I wrote up which covers the X500-V2 build, getting to work with ELRS, information on using QGroundControl with your Pixhawk/Ardupilot based UAV, and other operational considerations for newer UAS operators. As someone who works on documentation for UAS operations as a part of their job, I’m holding this documentation to a high standard, and am taking my time to ensure I post accurate and quality material that will be helpful for others.
